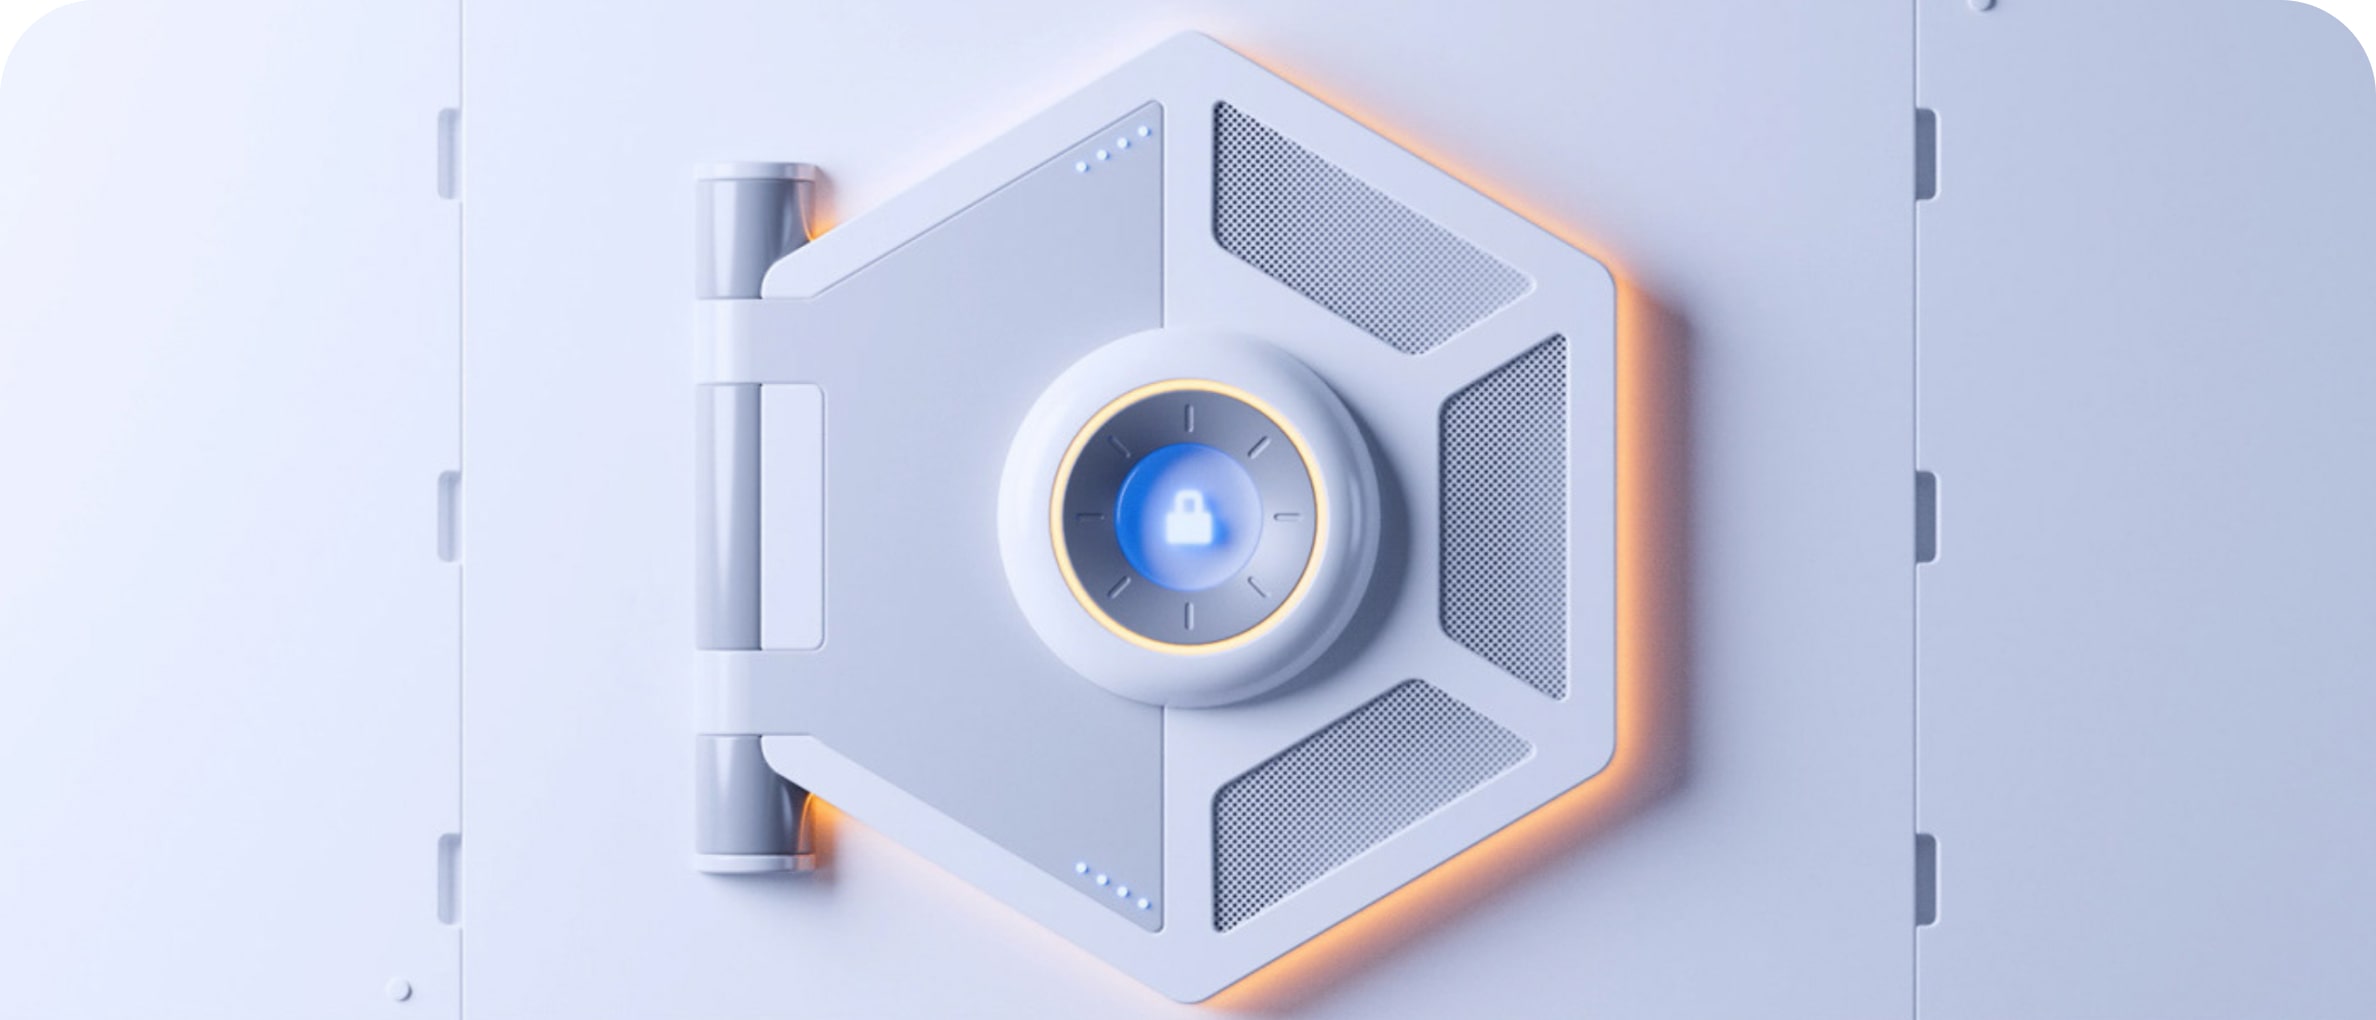
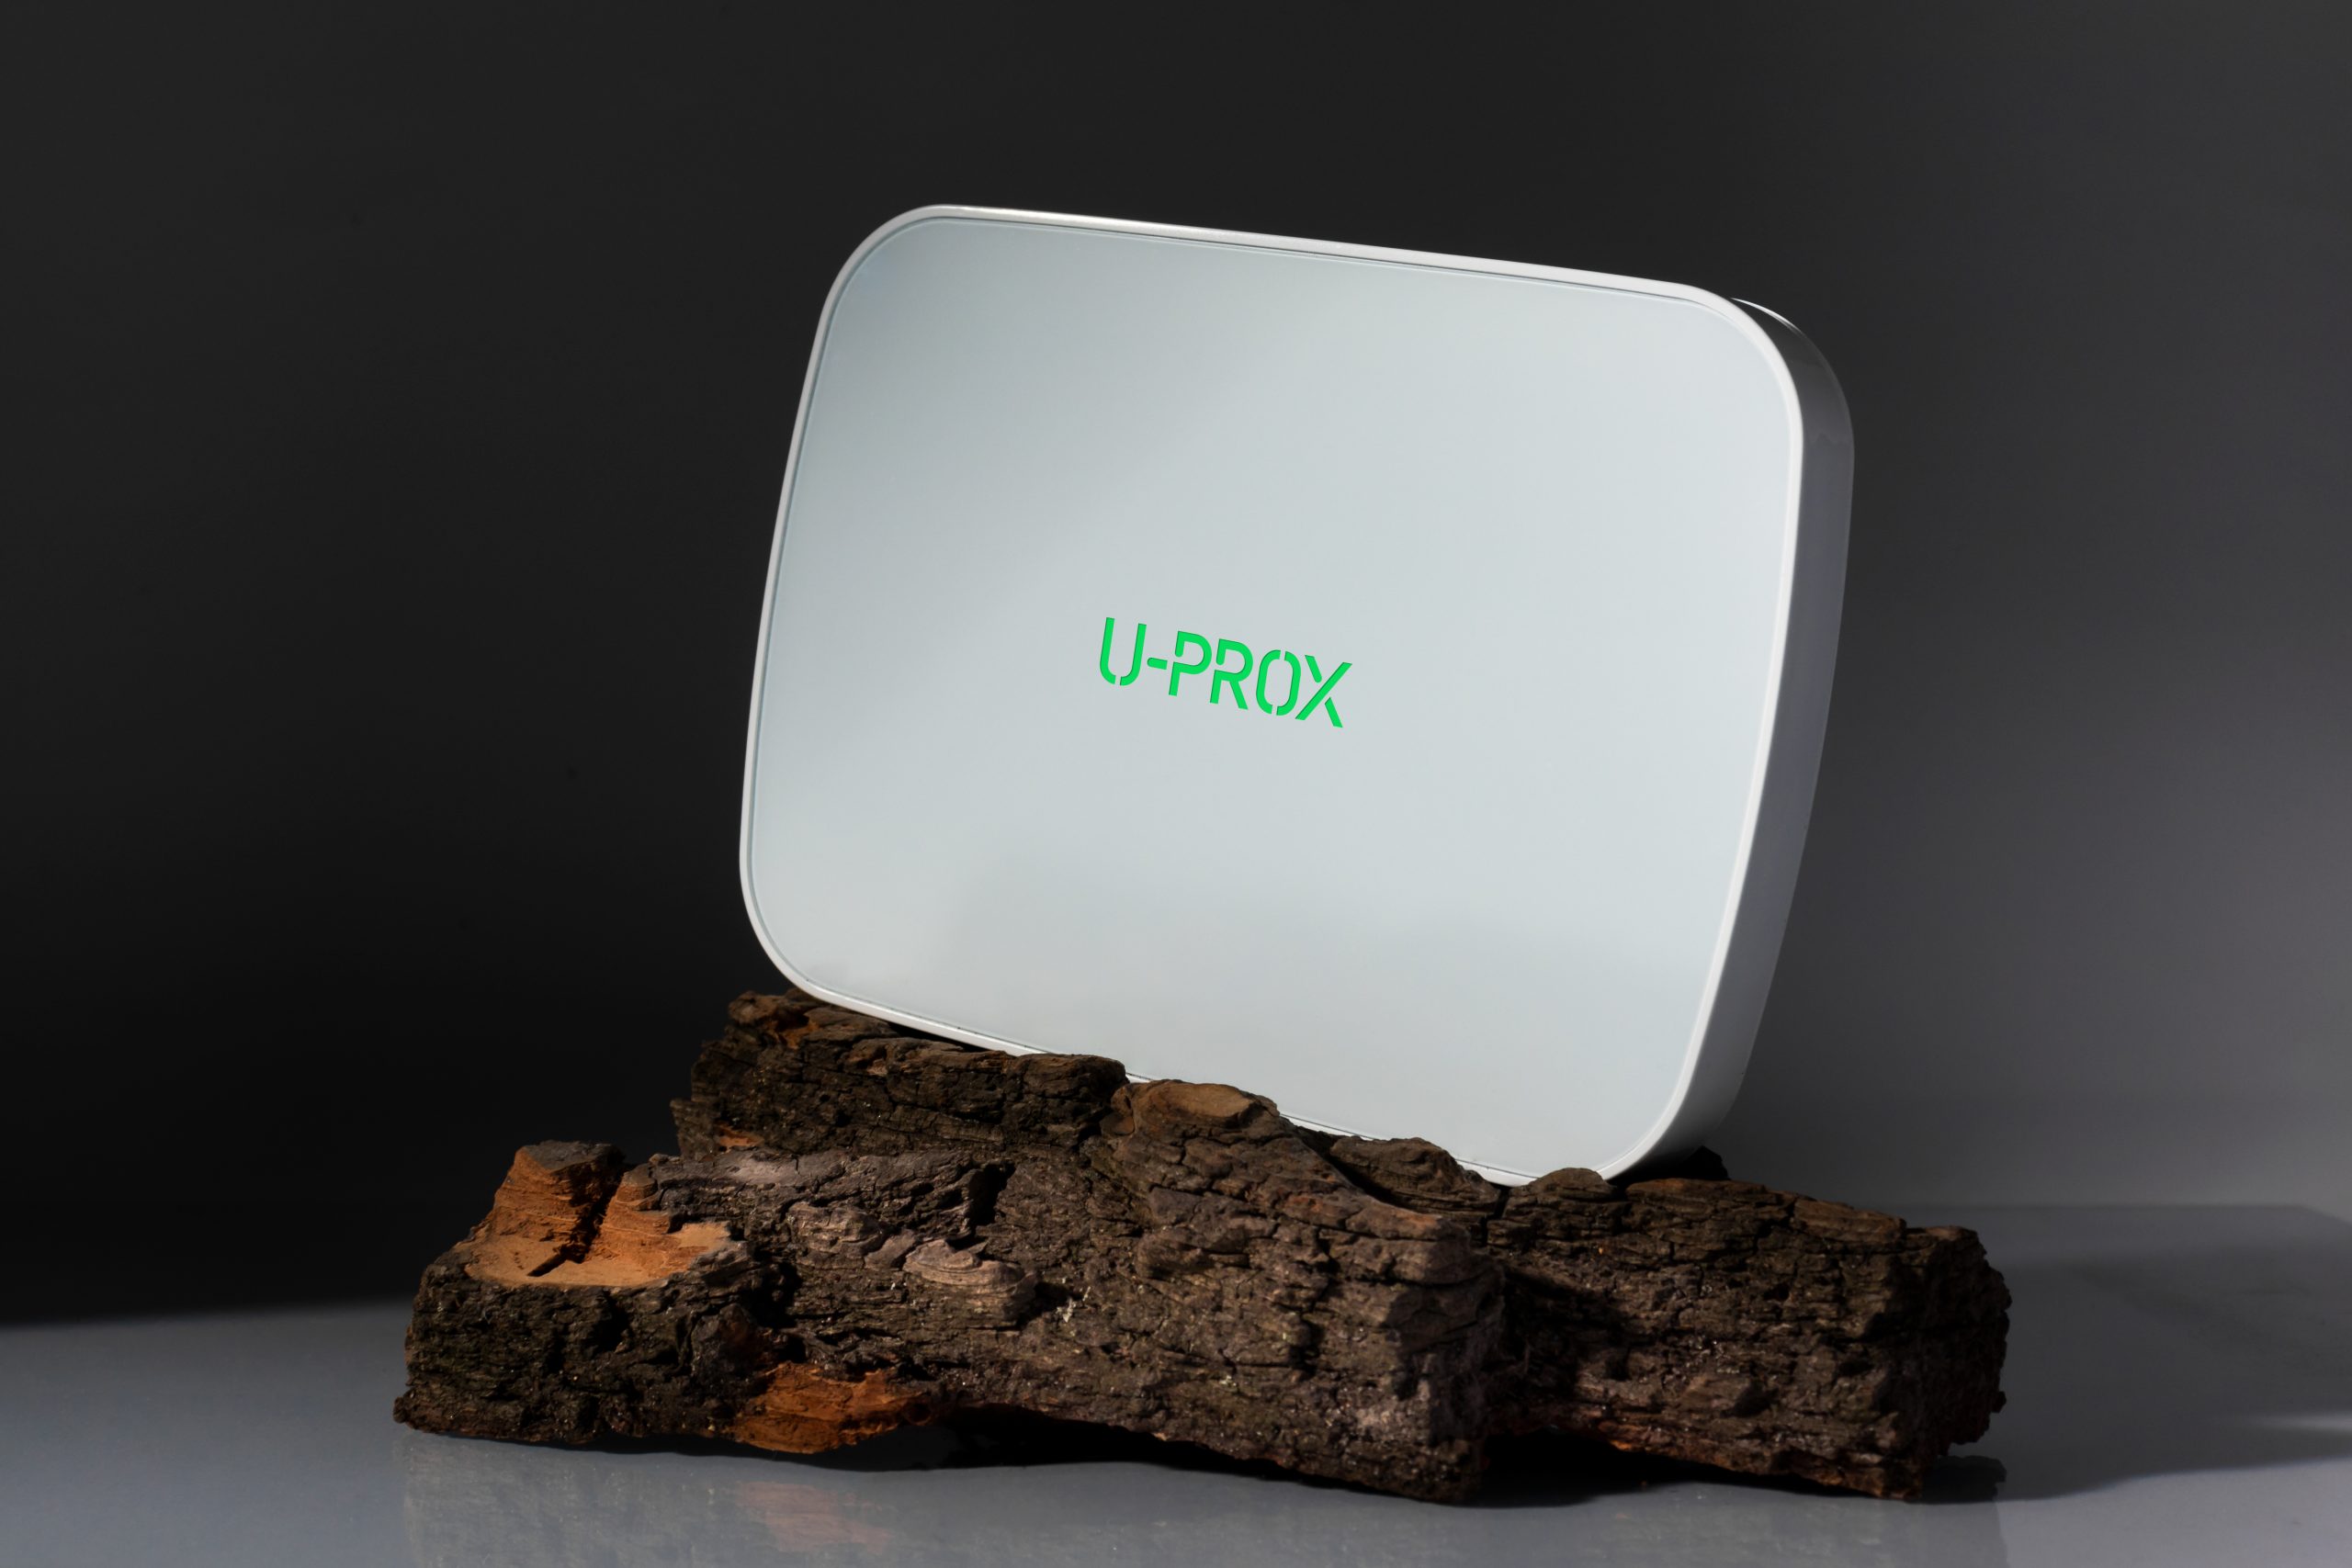
U-PROX MPX G
New wireless security center with Wi-Fi and GPRS

wireless devices
security zones

Reliable communication with automatic channel switching
security teams
repeaters


AUTOMATION AND INTEGRATION
Automation for protection and comfort. The security system only counteracts threats - staying at home, in the office and at work goes to a new level.
-
- Water leakage detection
- Valve control
- Intelligent security scenarios, anti-oxidation
- Fault detection
-
- Smoke alarms with built-in siren
- Send alerts to all devices
- Work autonomously
-
- Wireless relays for embedding
- Measuring the consumption of 220V appliances
- Built-in temperature sensors
- Reactions to detector triggering

Reliable photo verification of objects
Our U-PROX PIR Cam motion detectors have the function of verifying alarms and taking photos of objects that fall within their range. When motion is detected, the detector instantly activates the built-in camera, which takes a picture of the object. The user receives a photo or a series of photos in case of an alarm or on request from the app.
ONLY WHEN CONNECTED via WiFi
Patented radio technology
The U-PROX security system is characterized by reliable communication. The security center has two receivers operating simultaneously. Any device in the system operates in the notification mode, and the transmission occurs immediately when an event occurs. In addition, the devices support radio wake-up technology. The communication is two-way, encrypted with a 256-bit key, and imitation-resistant, which makes it impossible for an intruder to replace the detector or send the same data packet.

The fastest way to control


Protecting large rooms
Supporting 8 radio signal range extenders with automatic selection of the best notification route, MPX enables the system to protect not only apartments and private houses, but also large facilities such as multi-storey office buildings and factories, and events are always received on time, even in difficult conditions.
security teams
security zones
users
radio key fobs
automation
devices
repeaters
Gallery
Photos and videos


Want to buy?
Contact partner companies to purchase or install security and automation devices.
Want to sell?
Become an official distributor, reseller or installer of U-PROX security and safety systems.
Features
| Security groups (Partitions) | 30 |
|---|---|
| Users | 250 |
| Wireless devices in the system |
250 zones for detectors 250 key fobs 30 keypads 150 outputs 8 radio repeaters |
| Battery backup | 2500 mAh battery, up to 24 hours (2G/4G only) |
| Power | 12V, 0.35 A |
| Radio frequency |
Two wireless ISM interfaces, with multiple channels and speeds: ITU region 1: 868.0...868.6 MHz (EU, UA), 100 kHz bandwidth, 20 mW max, distance - up to 4800m (in open space); ITU region 3 (AU): 916.5...917 MHz, 100 kHz bandwidth, 20 mW max, distance to devices - up to 4800 m (in open space). |
| Communication |
Two-way, encrypted, with sabotage (jamming) detection. The encryption key is 256 bits |
| Connection |
Wireless computer network Wi-Fi 2.4 GHz Wired computer network Ethernet 100 Mbit, 4G (LTE) or 2G (GSM/GPRS) modem for redundancy, Two-way encrypted communication, encryption key – 256 bits |
| Wi-Fi | 2.4 GHz, 802.11b/g/n, Open/WPA/WPA2/WEP 14 dBm for 802.11n MCS7, 20 dBm for 802.11b |
| GSM/GPRS modem (U-Prox MPX G) |
850/900/1800/1900 MHz, Class 4 (2 W @ 850/900 MHz), Class 1 (1 W @ 1800/1900 MHz) 1 SIM card |
| Operating temperature range |
-10°C ... +55°C THE BATTERY CANNOT BE CHARGED AT TEMPERATURES BELOW 10°C |
| Permissible humidity | up to 75% |
| Environmental class | II (according to EN 50131-1) |
| Security grade | 2 |
| Dimensions | 167 х 120 х 25.4 mm |
| Case colour | white, black |
| Weight | 0.245 kg |
| Complete set |
1. U-Prox MPX G; 2. Rechargeable 18650 battery (pre-installed); 3. Power supply unit; 4. Short user manual |


U-PROX MPX G User manual
Introduction
This manual describes the procedure for installation and configuration of the U-PROX MPX wireless reception-control devices. Before using the device, please carefully review this manual.
Technical support for all products of the U-PROX brand is provided via telephone: +38(091)481-01-69 and/or by email: support@u-prox.systems.
Safety Warnings
When installing and operating the device, you must adhere to the “Rules for the Technical Operation of Electrical Devices by Consumers” and the “Rules for Safety in the Operation of Electrical Devices”.
The device must be installed with the power turned off. When performing work, follow fire safety regulations as well.
DO NOT DISASSEMBLE THE DEVICE OR ITS POWER SUPPLY WHILE POWERED, AND DO NOT USE A POWER SUPPLY WITH A DAMAGED CABLE.
The device has a built-in power unit. Replacing the power unit with one of an incorrect type may lead to fire or explosion. Dispose of used power units in accordance with local laws and regulations.
THE BATTERY CANNOT BE CHARGED AT TEMPERATURES BELOW 10°C; ENSURE THAT THE POWER ADAPTER IS CONNECTED.
Description and Operating Principle
U-PROX MPX G is the hub of the wireless security system. It manages the security of the premises and supports the connection of wireless devices (sensors, keypads, fobs, etc.) via radio channel up to 4800 m. The device interacts with the user and the security company using the Internet (Wi‑Fi) and 2G communication (GPRS/EDGE mobile internet) for enhanced reliability.
The device features two transceiver units operating at 868.0…868.6 MHz with multiple channels for redundancy, providing secure, encrypted (256-bit encryption key) two-way radio communication with channel tamper detection.
Wireless devices connected to U-PROX MPX operate on a notification transmission scheme – they alert when an event occurs (for example, activation of a motion sensor or magnetic contact) and periodically transmit their status (such as battery level). This method conserves battery life and reduces radio channel load.
U-PROX MPX G supports photo verification and photo recording of alarms through motion sensors equipped with the integrated U-PROX PIR Cam, provided that a Wi‑Fi connection is available.
The device is equipped with a built-in battery of 2500 mAh and can operate up to 20 hours without main power.
To interact with the device, an Internet connection is required to access the U-PROX Cloud service. Using the cloud service and smartphone applications, users can connect to U-PROX MPX G for management and configuration.
The U-PROX Cloud service is essential for interaction with the security system, its maintenance, receiving new software versions for both the security hub and the connected wireless equipment.
U-PROX MPX G and U-PROX Cloud are designed so that only the minimal necessary personal data is stored on the cloud service in a secure form, and communication between the device and U-PROX Cloud occurs over a secure, tamper- and crypto-resistant channel.
The device can operate autonomously—transmitting events directly to users’ smartphones—or connected to security companies. For event transmission to security companies, the device uses Internet access. Depending on the device settings, events may be sent directly and/or via U-PROX Cloud.
Device Functional Elements

- Device case
- LED indicator
- Mounting plate
- GID – serial number
- Tamper contact
- Power button
- Power supply connector
- SIM card holder
- Cable clamps
Zone
Zone – a part of the premises secured by the device and a wireless sensor. For example, a room protected by a motion sensor might be “Zone 5”, and a window secured by a magnetic contact might be “Zone 7”. A wireless sensor, depending on its type, can operate in several zones; for instance, a combined motion and glass-break sensor uses two separate zones.
Mobile Communication
U-PROX MPX G supports 2G communication. The data transmission speed over 2G is 20-55 kb/s.
The device works with a single SIM card. It automatically detects the network operator and configures access to the mobile network. Depending on the services provided by the operator, not only data transmission but also phone calls to a specified number—useful for alerting users of an alarm—are available.
IF THE SIM CARD IS ABSENT FROM THE DEVICE FOR 5 MINUTES, THE DEVICE WILL TURN OFF THE MODEM. IN SUCH A CASE, AFTER INSERTING THE SIM CARD, THE DEVICE MUST BE RESTARTED.
Wi‑Fi
All U-PROX MPX models support 2.4 GHz Wi‑Fi.
Searching for and connecting to an access point can be done locally using the U-PROX Installer mobile app via BLE (Bluetooth Low Energy) or remotely via the U-PROX Installer WEB portal or mobile app.
DHCP is supported for dynamic IP address allocation within the network.
Power Supply
The device is powered by a 12V power supply unit and features a standard DC 5.5×2.5mm connector, which allows for the use of alternative power supplies or connecting an external uninterruptible power source or battery.
In the absence of main power, when operating on the built-in battery, the device switches to energy-saving mode.
In this mode, if the Wi‑Fi connection is lost, it will shut down and operate solely via mobile communication.
The continuous status indication is also disabled; instead, the status is updated every 30 seconds.
Status Indication in Current Mode
The U-PROX LED indicator on the front panel of the device displays its current status:
Green light – indicates that there is a connection to U-PROX Cloud via at least one communication channel:

Red light – indicates that there is no connection to U-PROX Cloud through any 2G or Wi‑Fi channel:

Status Indication when Operating without Main Power
Flashing green every 30 seconds – no main power, the device is in energy-saving mode, and there is a connection to U-PROX Cloud via at least one communication channel:

Flashing red every 30 seconds – no main power, the device is in energy-saving mode, and there is no connection to U-PROX Cloud via any 2G or Wi‑Fi channel:

Installation
Choosing the Installation Location
Carefully choose the installation location for the U-PROX MPX wireless security hub; it should meet the following criteria:
- 1. Reliable connection with U-PROX wireless devices
- 2. Stable mobile network signal
- 3. Stable Wi‑Fi signal
- 5. The device should not be placed in a visible location
U-PROX MPX should not be placed:
- 1. Outdoors or in environments with unacceptable humidity and temperature
- 2. In areas with high levels of radio interference
- 3. Near objects that can cause signal attenuation (such as metal, mirrors, etc.)
Connection
1. Lower the mounting plate and detach it

2. Insert the mobile operator’s SIM card (with PIN request disabled) into the holder

3. 4. Connect the power supply unit to the device’s connector

5. Secure the cable using the clamp

Power On and Off
To power on the device, simply connect the power supply to the device and plug it into an outlet.
To turn on the device without main power connected, press the power button; the LED indicator will light up and the device will begin its boot process.

To turn off the device, disconnect the power supply, then press and hold the power button for 3 seconds until an audible signal is heard and the LED indicator turns off.
Connection Testing
BEFORE PERFORMING THIS STEP, THE DEVICE MUST BE CONNECTED TO U-PROX CLOUD.
- Launch the U-PROX Installer app
- Select the device from the list
- Move the device to the pre-selected installation location
- Based on the data in the U-PROX Installer mobile app, choose the location with the optimal signal level

Mounting
1. Mount the plate on the surface (for example, on the wall) at the installation location using the provided screws and anchors.

2. Ensure that the power supply is connected and secured with the clamp.
3. Place the device on the mounting plate and lower it to secure it and engage the tamper contact.

4. Secure the device case with the screw provided in the kit.
Working with U-PROX Cloud
Two separate applications are used for working with U-PROX devices in the cloud system. The first is the U-PROX Home app for managing the security system, and the second is the U-PROX Installer app for configuring U-PROX devices.
The configuration of the U-PROX MPX device is carried out using the U-PROX Installer mobile app or the U-PROX Installer WEB portal via U-PROX Cloud.
To access the U-PROX Cloud services, you must register and create an account using your email address.
U-PROX Cloud Accounts
The cloud system supports the following types of accounts:
Individual (Standalone) Installer
Registration is carried out via the U-PROX Installer app or on the U-PROX Installer WEB portal:
https://web security.u prox.systems/
The individual installer has access to:
- Add U-PROX MPX devices to U-PROX Cloud
- Remove U-PROX devices from U-PROX Cloud
- Add (register) wireless devices in U-PROX MPX, such as sensors, keypads, etc.
- Configure the added wireless devices
- Configure security groups in U-PROX MPX devices
- Create users for the U-PROX security system and set their access parameters – keypad code, fob, receiving notifications, etc.
- Grant access to the U-PROX Home mobile app for users
- View events for all U-PROX devices added to the installer’s account
- Transfer the U-PROX MPX security system for maintenance by a security company
Security Company Administrator
To register, you must send a request to:
The security company administrator has access to:
- Configure company information – description, logo, contact details
- Manage company personnel – add or remove engineers and managers
- Manage personnel access rights, for example by limiting the list of devices available to the installer
- Process connection requests from individual installers
- Add U-PROX MPX devices to U-PROX Cloud
- Remove U-PROX devices from U-PROX Cloud
- Add (register) wireless devices in U-PROX MPX, such as sensors, keypads, etc.
- Configure the added wireless devices
- Configure security groups in U-PROX MPX devices
- Create users for the U-PROX security system and set their access parameters – keypad code, fob, receiving notifications, etc.
- Grant access to the U-PROX Home mobile app for users
- View events for all U-PROX devices added to the security company’s account
- Download the U-PROX Console event receiver software for receiving events from security centers and connecting to monitoring software
Installer of a Security Company
Registration is performed via an invitation link sent by the security company administrator to the installer’s email.
The security company installer has access to:
- Add U-PROX MPX devices to U-PROX Cloud
- Add (register) wireless devices in U-PROX MPX, such as sensors, keypads, etc.
- Configure the added wireless devices
- Configure security groups in U-PROX MPX devices
- Create users for the U-PROX security system and set their access parameters – keypad code, fob, receiving notifications, etc.
- Grant access to the U-PROX Home mobile app for users
- View events for all U-PROX devices added to the installer’s account
Security Company Manager
Registration is performed via an invitation link sent by the security company administrator to the installer’s email.
The security company manager has access to:
- View devices and events for all U-PROX devices added to the manager’s account
- Process connection requests from individual installers
User of a System Maintained by a Security Company
Registration is performed via an invitation link sent by the security company installer to the user’s email.
System management is carried out through the separate U-PROX Home user app.
The user has access to:
- View the status of the security system and its devices
- Arm and disarm the system
- Partial arming – “Perimeter” (night mode)
- Control home automation devices – relays, valves, etc.
- View system events
- Live view of video surveillance cameras
- Receive alarm notifications
- View images on demand or when photo-verification of alarms is performed via U-PROX PIR Cam sensors
- Add users if the installer has granted the appropriate permission
- Transfer the U-PROX MPX security system for maintenance by a security company
User of a Standalone System
Registration is performed via an invitation link sent by the individual installer to the user’s email.
System management is carried out using the separate U-PROX Home user app.
The user has access to:
- View the status of the security system and its devices
- Arm and disarm the system
- Partial arming – “Perimeter” (night mode)
- Control home automation devices – relays, valves, etc.
- View system events
- Live view of video surveillance cameras
- Receive alarm notifications
- View images on demand or when photo-verification of alarms is performed via U-PROX PIR Cam sensors
- Add users if the installer has granted the appropriate permission
- Transfer the U-PROX MPX security system for maintenance by a security company
U-PROX Installer Mobile App
This app is used for configuring the U-PROX wireless security system.
It is intended for both individual users and engineers of centralized security organizations.

Using a mobile phone, the app allows full configuration of the security system – installation, testing, and calibration of wireless system elements; configuration of security groups; connection to monitoring company hubs; adding users and granting them rights to manage the security system via the U-PROX Home app.
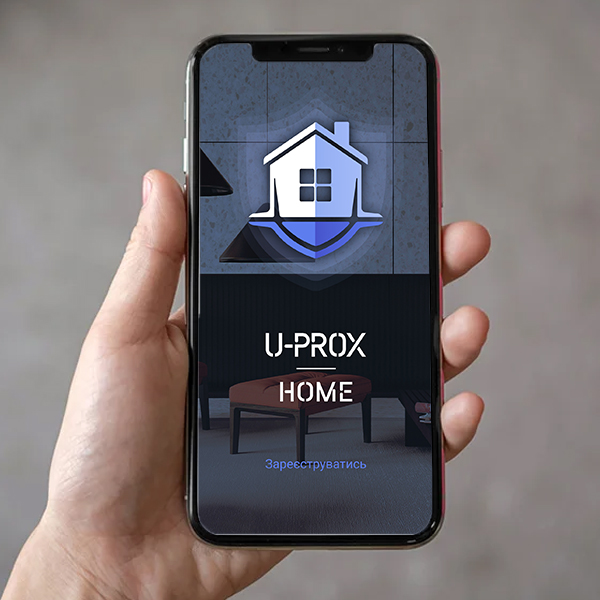
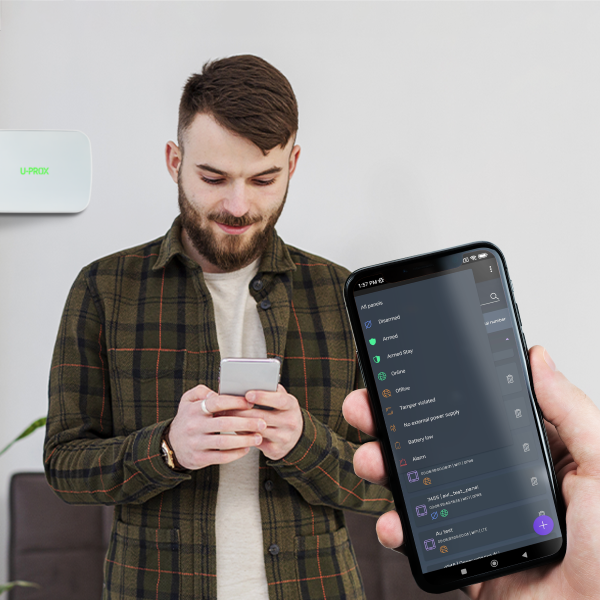
U-PROX Home Mobile App
This app is designed for managing the U-PROX wireless security system.
Using a mobile phone, regardless of location, you can arm and disarm your premises, control home automation devices, and monitor system events via push notifications and event history for a specified time period.

Within one app, you can manage several security systems (for example: an apartment, a country house), each of which may have one or several security groups (for example: house, garage, safe).
Installer WEB Portal
The U-PROX Installer WEB portal is designed for configuring the U-PROX wireless security system.
It is intended for both individual users and engineers of centralized security organizations.
Through a web browser, full configuration of the security system can be performed – installation, testing, and calibration of wireless system elements; configuration of security groups; connection to monitoring company hubs; adding users and granting them rights to manage the security system via the U-PROX Home app.
https://web-security.u-prox.systems/
U-PROX Console v2 – Event Receiver
U-PROX Console v2 is software for easily connecting U-PROX devices to monitoring software. U-PROX Console v2 works with most monitoring programs and supports ContactID, SIA DC09, and XML.

You can download the U-PROX Console v2 software and configuration file from the security company administrator’s workspace on the U-PROX Installer WEB portal.
Configuration
- 1. Download and install the U-PROX Installer mobile app for configuration
- 2. Launch the U-PROX Installer app and log in
IF NECESSARY, REGISTER AS A STANDALONE INSTALLER OR OBTAIN ACCESS AS A SECURITY COMPANY INSTALLER
Adding a Device to U-PROX Cloud
- Launch the U-PROX Installer app or open the WEB portal in your browser and log in
- Click the (+) button (“Add Device”) to add a device
- When adding a device via the mobile app, you have the option to add a security hub by its serial number or to find it via Bluetooth:
- When you click the “Connect via Bluetooth” button, the app will search for the device via Bluetooth. For proper operation, location services and Bluetooth must be enabled.
- To activate Bluetooth on the device, the tamper contact must be triggered. To do this, lift the device mounted on the plate upward. Alternatively, if the device is not yet mounted, lower the mounting plate (3).
AFTER THE TAMPER IS TRIGGERED FOR BLUETOOTH, IT WILL REMAIN ACTIVE FOR 15 MINUTES. AFTER THAT, TO RESTART BLUETOOTH, THE DEVICE MUST BE RESET BY TRIGGERING THE TAMPER AGAIN.
- The U-PROX Installer app will search for and display nearby devices.
- Select the device from the list that you wish to add to your account.
- After selecting the device, the app will prompt you to configure Wi‑Fi. Click “Skip” to configure later; in this case, the device will use mobile internet (if a SIM card is inserted) to connect to U-PROX Cloud.
- After clicking the “Configure Wi‑Fi” button, the device will scan for Wi‑Fi networks.
NOTE: THE DEVICE WORKS ONLY WITH 2.4 GHz WI‑FI; OTHER WI‑FI TYPES ARE NOT SUPPORTED AND WILL NOT APPEAR IN THE SCAN.
- Select the network from the list to which you wish to connect and enter the password
- The device will connect to the Wi‑Fi network and proceed to join U-PROX Cloud
- 4. When adding a device via the U-PROX Installer WEB portal, you must enter the security hub’s serial number. In the mobile app, click the “Add by Serial Number” button.
- 5. The device will be joined to the cloud account
- 6. You will then be taken to the list of devices
AFTER SUCCESSFULLY ADDING THE DEVICE, IT IS JOINED TO THE SECURITY COMPANY’S OR INDIVIDUAL INSTALLER’S ACCOUNT. TO ADD IT TO ANOTHER ACCOUNT, THE DEVICE MUST BE REMOVED FROM THE PREVIOUS ACCOUNT.
Main Security Hub Settings
- Select the device from the list that you wish to configure
- Go to the security hub settings
- “Group Settings” – navigate to the security groups management section
- “Device Name” – change the name of the security hub
- “Firmware Update” – allow or disallow automatic firmware updates of the security hub from the cloud service
- “LED Indicator” – enable or disable the indicator on the device’s front panel
- “Auto-cancel Alarm” – cancel the alarm after a set time, upon user action in the app, or after entering the code via the keypad
- “Mobile Data Network” – configure the connection to mobile internet
- “Wi‑Fi Network” – configure the connection to the wireless LAN
- “Monitor SIM Card Balance” – the device periodically sends a request to the modem to obtain the remaining balance of mobile internet funds
- “Siren for Air Alarm” – enable the audible alert on U-PROX Siren and U-PROX Siren Outdoor devices for air alarms and the cancellation of an air alarm in a specified region
- “Time Zone” – a parameter that indicates the correction for determining local time
- Special settings
- “Disable Tamper” – when enabled, the device will not react to the opening of the case
- “Disable Radio Noise Detector” – setting to disable the noise detection algorithm in the radio band according to EN 50131-1
Remote Wi‑Fi Configuration via U-PROX Installer WEB Portal and Mobile App
- Select the device from the list for which you wish to configure or reconfigure Wi‑Fi
- Go to the security hub settings and select “Wi‑Fi Settings”
- Click the “Search for Wi‑Fi Access Points” button
- The search will begin
THE DEVICE WORKS ONLY WITH 2.4 GHz WI‑FI; OTHER WI‑FI TYPES ARE NOT SUPPORTED AND WILL NOT APPEAR IN THE SCAN.
- The detected access points will be displayed in a list. Select the network you wish to connect to
- Enter the password and confirm the availability of an alternative communication channel in case the Wi‑Fi connection fails
- The device will connect to the Wi‑Fi network
Mobile (Cellular) Network Settings
- Select the device from the list for which you want to set specific cellular network parameters
- Go to the security hub settings and select “Cellular Network Settings”
- Select the SIM card for which you wish to specify special settings
- Set the required parameters, confirm the availability of an alternative communication channel in case the connection fails, and click “Save”
Registering Wireless Devices
- Select the U-PROX MPX device from the list to which you want to add a wireless sensor
- Click the (+) button (“Add Radio Devices”) – the security hub will enter the registration mode for sensors, keypads, etc. In this window, you can click on the device icons to view the activation instructions.
- According to the instructions, power on the wireless sensor and bring it within approximately 1 meter of the security hub
- Wait 15-20 seconds – the wireless sensor will be registered, and its settings will become available in the app
- After changing the settings, the device registration will continue
- To complete registration, click the “Back” button in the app window
Adding a User
- After registering the available wireless devices, go to the “Users” section to configure user accounts
- Click the (+) button (“Add User”) and enter the user’s name
- Click the “Add” button – the user will be created
Adding a Keypad Code for a User
If a keypad is used in the system – assign a PIN code to the users.
- Go to the “Users” section
- Select the user from the list
- Choose “Keypad Code for Arming/Disarming”
- Enter the keypad code and click “Save”
- The keypad code will be saved
Registering a Wireless Fob
To add a wireless fob for a user, follow these steps:
- Go to the “Users” section
- Select the user from the list
- Choose “Fob” to initiate the fob registration process
- Bring the fob within 0.5 m of the security hub, press and hold its button for about 20 seconds – the fob will be registered. Then release the button.
- If needed, click the “Change Buttons” button to reconfigure the fob functions
Granting a User Access to the Mobile App
- Go to the “Users” section
- Select the user from the list
- Choose “Mobile App”
- Enter the user’s email address, select the “Allow” option, and click “Save”
- An invitation email will be sent to the specified address. If the app has not been installed previously, it will be downloaded and installed. Upon launch, if necessary, a new user registration will be performed.
Configuring Security Groups
A security group is a logical grouping of zones within a protected area (for example, a room, apartment, garage, floor of a building, etc.), representing the minimal unit of security. A security group allows you to control all zones simultaneously. Security groups are independent – a user can only control and view those groups, devices, and events for which they have been granted access.
- Go to the “Security Groups” section
- Click the (+) button (“Add Group”), enter the group name, and click “Save”
- In the sensor properties, the option to assign the sensor to a different group will appear
Connecting to a Security Company
Connecting the system to a security company enables round-the-clock monitoring of the security system, rapid response to alarms with the involvement of rapid response teams and engineers for equipment maintenance.
Each security system is identified by the security company using an internal identifier – either a control panel number or an account.
- Select the U-PROX MPX device from the list that you wish to connect to a security company
- Go to the “Control Panel” section
- To connect to a security company and operate via the cloud, it is sufficient to enter the security system’s control panel number
- To connect directly to a security company with redundancy via the cloud, you must enter the control panel number and specify the IP address and port of the event receiver
- Additionally, a test period is configured – the time period for sending a “Periodic Test” notification, during which the device and its communication channel with the event receiver are monitored
Removing a Device
- In the device list, click the “Remove” button on the U-PROX MPX device you wish to delete
- Choose the removal method – complete removal (with all settings cleared, provided the device is connected) or partial removal – the device will be disconnected from the account but all settings will be retained (if the “Clear All Settings” option is disabled)
- Click the “Remove” button to delete the device
U-PROX MPX Device States
|
Main power is normal |
|
|
Main power is absent |
|
|
The device case is closed |
|
|
The device case is open |
|
|
Battery is charged |
|
|
Battery charge level |
|
|
Battery is critically discharged |
|
|
Battery is faulty |
Communicator States
|
|
Connected via Wi‑Fi, signal level |
|
|
No Wi‑Fi connection |
|
|
Mobile internet, 2G connection, signal level and active SIM card number |
|
No 2G connection |
Wireless Device States
|
220V power is normal |
|
|
220V power is absent |
|
|
Device temperature sensor |
|
|
The device case is closed |
|
|
The device case is open |
|
|
Battery is charged |
|
|
Battery charge level |
|
|
Battery is critically discharged |
|
|
Battery is faulty |
|
|
Device radio signal level |
|
|
No radio connection with the device |
|
|
Bypass (skip) the zone during arming |
|
|
The sensor is tilted or inverted |
U-PROX Home App and User Interaction
Receiving an Invitation
- The user receives an invitation at their email address
- After clicking the “Open App” link, the U-PROX Home app will launch if it is installed, or you will be prompted to install the app and set a password for the new user
- Upon first installation, the app will request additional settings, such as a security PIN, geo-reminder settings, app appearance, and, if permission is granted, further settings for using the panic button
- The main screen of the app may have two layouts: one with a single group and horizontal navigation through groups via a slider (Layout A) and one with a list of groups (Layout B)
- A navigation bar is located at the bottom of the screen to access the main functions: Groups, Settings, Automation, Cameras, Event History.
Full Arming
- Go to the “Groups” section
- Select the appropriate group
- Perform the following actions for “Full Arming”: for Layout A – move the joystick to the far right position, for Layout B – select the appropriate group from the list and click the “Full Arming” button
- A countdown to exit from the premises will begin
Partial Arming (“Night Mode”, “Perimeter”)
- Go to the “Groups” section
- Select the appropriate group
- Perform the following actions for “Partial Arming”: for Layout A – move the joystick to the far left position, for Layout B – select the appropriate group from the list and click the “Partial Arming” button
- The group will be armed in “Perimeter” mode – all sensors with the “Internal” attribute will be disabled
Disarming
- Go to the “Groups” section
- Select the appropriate group
- Perform the following actions for “Disarming”: for Layout A – move the joystick to the far left position, for Layout B – select the appropriate group from the list and click the “Disarming” button
- The group will be disarmed
Panic Button
Sends an “Attack” signal (“Panic” or “Silent Alarm”). This function must be enabled in the user settings.
- Go to the “Groups” section
- Perform the following actions: for Layout A – move the joystick to the very bottom position and hold for 3 seconds, for Layout B – press the “Alarm” button
Canceling the Alarm
To cancel the alarm, simply disarm the group or press the “Arm” button and immediately “Disarm”.
Controlling Actuator Devices
- Go to the “Automation” section
- Press the switch next to the respective device to activate or deactivate it
Video Surveillance
- Go to the “Cameras” section
- If the video module has not been previously installed, the app will prompt you to download and install an additional video module. Click “Download”.
- After the module is successfully downloaded, click the (+) button to add a camera and select it from the displayed menu
- When adding a Dahua/Imou camera, simply assign a name to the camera and read its serial number using the built-in QR code scanner.
- Specify which security zone the camera is associated with so that, during an alarm, video from the nearest camera is displayed; then click “Save”. To test, you may view the video.
- To add an RTSP camera, specify its name and the RTSP URL
Event Log
- Go to the “Event Log” section
- To filter events by type, use the “Filter” button
Additional Settings
This menu contains additional parameters for configuring and controlling the security system.
- “Security System” – Information about the device, its communication channels, and data usage. Also provides the option to change the Wi‑Fi network settings.
- “Sensors and Fobs” – Information about the devices in the system and their status. Also allows you to view statistics on temperature changes and battery discharge. From here, you can disable (bypass) a faulty sensor.
- “Users” – View system users and, if permitted, edit them
- “Notifications and Reminders” – Configure notifications and reminders for arming and disarming based on geolocation
- “App Appearance” – Configure the appearance of the main screen and the sensors for displaying temperature on the main screen
- “Passwords and Login” – Additional security settings such as biometric identification and an extra PIN for app login
- “About the App” – View the app version and send a support request to technical support
Maintenance
The system generally requires minimal maintenance.
Periodically, use a dry, electronics-safe cloth to clean the device’s case of dust and other contaminants as they appear.
Factory Reset
- 1. Remove the device from the mounting plate
- 2. Press and hold the power button for 40 seconds
- 3. The device will emit a series of sound signals – continue holding the power button
- 4. Release the power button after the LED indicator turns yellow and a long signal is heard
- 5. The device will revert to its initial settings
IF THE POWER BUTTON IS RELEASED DURING THE SERIES OF SOUND SIGNALS, THE DEVICE WILL NOT RESET TO ITS INITIAL SETTINGS.
Compliance with Standards
- RED (Radio Equipment Directive) Directive 2014/53/EU
- EU ROHS Directive 2011/65/EU, EN IEC 63000:2018
- EN 62311:2008
- EN 62368-1:2014
- EN 50130-4:2011/A1:2014
- EN 61000-6-3:2007/A1:2011
- ETSI EN 301 489-1 v2.2.3
- ETSI EN 301 489-3 v2.1.1
- ETSI EN 301 489-17 v3.2i4
- ETSI EN 301 489-52 v1.2.1
- ETSI EN 300 220-1 v3.1.1
- ETSI EN 300 220-2 v3.2.1
- ETSI EN 300 328 v2.2.2
- ETSI EN 301 908-1 v13.1.1
- ETSI EN 301 908-2 v13.1.1
- ETSI EN 301 908-13 v13.1.1
- ETSI EN 301 511 v12.5.1
- IEEE 802.3x-1997
- EN 50131-1 Grade 2
Warranty Obligations
The warranty period is 24 months from the date of purchase.
Warranty service does not cover mechanical damage, damage resulting from improper installation, incorrect use, or damage caused by natural disasters.
All warranty issues are handled by the official service centers of the U-PROX brand.
Uploads
Questions and answers
-
Most of the sensors are powered by lithium batteries. They have sufficient capacity and operating temperature range.
Thanks to the adaptive power of the radio transmitters and the optimized data transmission protocol, the service life can be up to 7 years. The shortest service life of alkaline batteries “finger” or AAA, which are installed in the keyboard – up to 2 years.
But the replacement does not even require a screwdriver, the keyboard is removed using a regular plastic discount or bank card.
-
Everything that is in U-PROX, from the idea to the engineering implementation is done exclusively in Ukraine.
-
15 years ago massively used wired phones, mobile phones were either business or luxury. Now almost everyone has a mobile phone. It’s not only comfortable. The quality of wireless communication is steadily increasing.
The same situation with security systems. Wired systems require high-quality cable, trained personnel with electrical education, quality installation with line inspection, construction work with drilling, wiring, and other inconveniences. All this requires a lot of time.
As a result, we have a total cost that includes work. And compared with wireless systems, it is much higher. The wireless security system can be installed independently, the kit includes everything you need for installation.
The U-PROX security system has U-PROX BAND radio communication technology. It has unsurpassed characteristics in range, resistance to interference, due to channel redundancy, and is very efficient in terms of energy consumption.
-
It is reliable communication that distinguishes the U-PROX security system from its competitors. We use DSTU GOST28147-89 encryption with reverse gamma, 256-bit key (3DES level).
Any of our radio devices operates in the notification (notification) mode, not polling, that is, as soon as an event occurs, it is immediately transmitted to U-PROX. In turn, the security center confirms the reception of the data packet by sending a response. The communication is two-way, imitation-resistant: the packet contains the detector serial number and the packet sequence number, which makes it impossible to replace the detector or send the same data packet by an intruder.The detector periodically sends data about its status to U-PROX, notifying that it is “alive”. We call this a “heartbeat”. In response, it receives confirmation and additional commands.
If the detector is installed in a place with poor conditions, it is used:
- increasing the radio communication power – 3 gradations of the transmitting device power are available,
- switching the data rate to improve the sensitivity of the receiving path,
- switching to other (backup) channels in the frequency range of 868.0 … 868.6 MHz.
In turn, the basic U-PROX device has 2 transceivers that work simultaneously to receive signals on different channels and speeds. And of course, there is a definition of radio jamming.
-
Your device communicates with the security company via two GPRS/LTE channels and the Internet – Wi-Fi or Ethernet.
If you try to “jam” or somehow block the communication channel, U-PROX will send a signal informing you.
-
Yes, if the security system uses the U-PROX PIR Cam detector with photo fixation.
Thanks to it, users of the U-PROX Home mobile application can receive a photo from the detector at any time by pressing one button.
Also, when a photo is received on request, it is possible to save it to the user’s smartphone photo gallery and enlarge it if necessary.
The owner of the security system can also configure permissions to send photos in case of an alarm to security companies.
-
Wi-Fi is a wireless technology for connecting devices to the wired Internet.
It is implemented in all security centers (hubs).
The central unit in this case can be placed anywhere.
-
- We believe that this is our future – in 2-3 years, wireless equipment will occupy a large part of the security systems market. Almost everything will be wireless, and prices for such solutions will decrease.
- Wireless solutions are fast, convenient, and reliable.
- Will not spoil the interior design and renovation during installation, as it requires minimal installation work.
- Minimize the time spent on installing the security system.
- U-PROX WDC, U-PROX Wireport, U-PROX Multiplexer and U-PROX Siren have wired inputs to which wired devices can also be connected.
-
The use of mobile applications U-PROX Home and U-PROX Installer allowed to separate system settings and management.
The U-PROX Home application is used to control the U-PROX security system. The application implements the required set of functions:
- Arming.
- Disarming.
- Arming in night mode.
- Alarm button.
- Event history with simple filters.
- View temperature from sensors.
- Add camcorders with zones.
- Watch the video from a connected camera.
- In the event of any failure in the system application, U-PROX brings this information to the home screen, and notify the user via Push message.
U-PROX Installer is used to configure the security system. Through an application is performed the primary activation of the sensors
-
The security group is a logically independent unit in the security system.
It combines a group of sensors, which is placed and removed from protection separately and independently of others.
This can be done by a user who is authorized to manage a specific group.
-
This is a function that can work in any of the security groups.
It is implemented as follows. Consider the example of the house. When people put guards in this mode, the sensors that protect the perimeter: doors, windows, or even the entire first floor – become active. Other sensors – indoors – inactive. So, you can move freely inside the room, and intrusion from the outside will be detected.
-
The sensors are powered by their own batteries.
And the U-PROX security center is equipped with a lithium-ion battery, which will provide autonomous power for 24 hours.
And if this is not enough, then you can use the design feature of U-PROX devices – an input power supply of 12V DC, which means that an external uninterruptible power supply can be used, or a car battery, then the autonomous life can be increased, even up to several weeks.
-
It is very easy to install the U-PROX security system. Everything you need for installation: screws, fasteners, come complete with each sensor. The devices have simple mounts. Installation of the sensors to the required space can be done using screws or using two-way tape.
The overall security system installation will take about 10-15 minutes.It is very easy to install the U-PROX security system.
Everything you need for installation: screws, fasteners, come complete with each sensor. The devices have simple mounts.
Installation of the sensors to the required space can be done using screws or using two-way tape.
The overall security system installation will take about 10-15 minutes.
-
- Modern energy-saving technologies allow you not to think about replacing batteries for several years (2-7 years).
- 2 weeks before the full discharge, the security system will warn you and the service security organization about the discharge.
- Popular battery sizes are used ААА, CR2, CR123A і CR2032.
-
This is implemented using cloud technology.
With the security panel, the system works directly, “without intermediaries”.
With the user’s smartphone, the mediator is the cell of the device in the cloud, through which events are displayed on the smartphone and control commands from the user are passed.
-
Modern systems work via an Internet connection, this is mobile Internet in LTE networks or fixed cable.
U-PROX uses both connections, thus providing data transmission redundancy to the monitoring station in case of blocking or jamming of GSM-communication or cable breakage.
Control of communication with the device is provided by the monitoring panel.
-
You can prevent water leaks in your apartment or house thanks to automation devices from U-PROX. The flood prevention system warns you of an unwanted water leak in the U-PROX Home app and automatically shuts off the water supply in case of a pipe burst or a malfunction of the washing machine.
The smart valve control and power supply device allows you to automatically shut off/open the water supply when arming/disarming the room.
You can also create personalized schedules for arming/disarming/operating the relay/water valve.
-
We use a proprietary technology called “U-PROX BAND”, it operates in the 868.0-868.6 MHz frequency range allocated for such systems and transmitter powers allowed without licensing up to 25 MW in the basic device, up to 20 mW in detectors, 10 mW in key fobs, with dynamic adjustment (the first exchange attempt is always at minimum power).
U-PROX BAND has significant advantages over its competitors: the length of the packets transmitted over the air is almost two times less, the optimized retry algorithm (energy consumption-wise), the sensitivity of the detector receivers is higher (this is the range both in line of sight and in building conditions). The U-PROX security center has two transceivers operating at different frequencies in the permitted range, providing redundant data transmission from sensors.
One of the “tricks” of U-PROX BAND is the function of updating the software of all elements over the air. If any shortcomings are corrected or the functionality of the device is added, then the owner and the security company do not need to worry about dismantling, sending for an update. The update will occur automatically after the automatic update of the basic device.
-
The U-PROX security system has a refined design.
As standard, the cases of devices are executed either white or black.
For WDC sensors, the white starter kit includes replaceable dark brown housings.
-
If the animal is no more than 25 kg, then we will install special sensors that do not react to such animals, it is not required to restrict pets in movement.
If the animal is large, then we recommend allocating a space for it in the room, where sensors that react to movement will not be installed. There, you can install a sensor that responds to glass breakage, or sensors for opening doors and windows. -
You can install the U-PROX Security System even if you have no wired internet.
Since the backup communication source is the LTE/GSM network (the mobile operator card is installed).
But in this case, you lose one of the communication channels.
-
If the phone is out of network, the security system remote control and watch events will not work.
But you can get an alarm notification if you set up a call from the device to the user’s phone. This mode is indispensable if the system operates autonomously, without remote monitoring.
We advise you to entrust security only to specialized companies, which will monitor your facility 24/7 and respond in case of alarm notification.
U-PROX is the best wireless device for remote protection.